 |
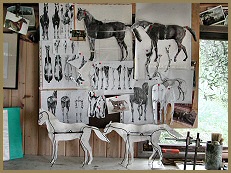
We can see the
metal armature and paper cut-outs of the desired future sculpture are
ready.
I then created
the volume of the horses’ bodies with newspaper and tape.
|
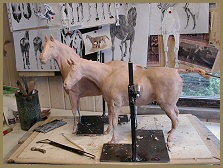 |
Here the sculpture is beginning to take shape but it still has a long
way to go. |
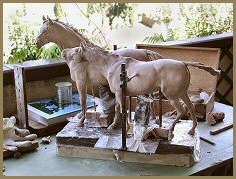 |
This is the
finished clay model photographed before taking it to the foundry.
|
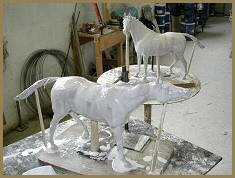 |
At the foundry
the clay horses were sprayed with a sealer. Then a rubber mould
compound was painted on in layers. An outer mould, dividing in two
parts, was made in plaster. The clay model
is discarded. The inner rubber mould is cleaned and
coated in hot wax of a certain thickness creating a hollow wax replica
of the clay horse.
|
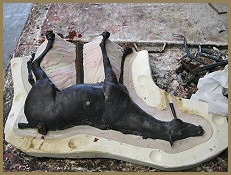 |
Hot wax was
poured in and out of the rubber mould, coating the sides until the
correct thickness is obtained. We can see in this photo the hollow wax
model horse lying in the open mould.
|
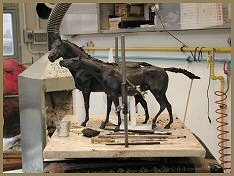 |
The wax horses
were hand-chased by me to obtain all the desired detail.
|
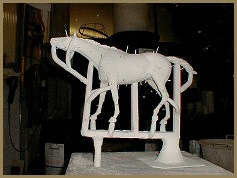 |
Here we see the
horse model. It has been filled and covered with investment, a ceramic
mixture, which hardens when fired. The pins hold the inner and outer
investment together when the wax is melted in the furnace so leaving the
space for the bronze - this is called the lost wax method . The molten
bronze was then poured into the empty cavity. |
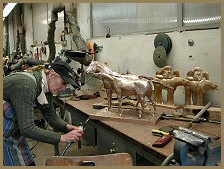 |
The investment was removed from
the inside and outside of the bronze sculpture. It was sandblasted and
had the runners removed and the hole for the inside ceramic was closed.
All the work on the metal was done by me with the helpful guide of the
foundry staff. |
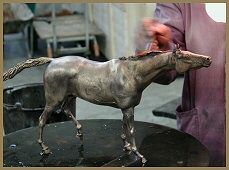 |
The
bronze was sandblasted again and washed with a chemical solution
starting the oxidation progress. A hot propane torch flame was blown
onto the bronze and together with the patina chemicals created the final
colour which was a rich brown with grey/green overtones. |